Saturday, March 24, 2012

Simple Spring Wreath


I was late this year in taking down my Christmas Wreath.  I kept waiting for winter but it never came.  I finally gave up and started to look forward to spring.  Rather than buy a ready-made wreath or use last years I decided to make one of my own.


My local craft store had all of the necessary materials.  I picked up a 12" floral craft ring made from MDF, a bag of Spanish moss, two faux floral branches and a clip-on feather tailed bird.  Total material cost was about $13.

If you would like to make your own, follow along with me.

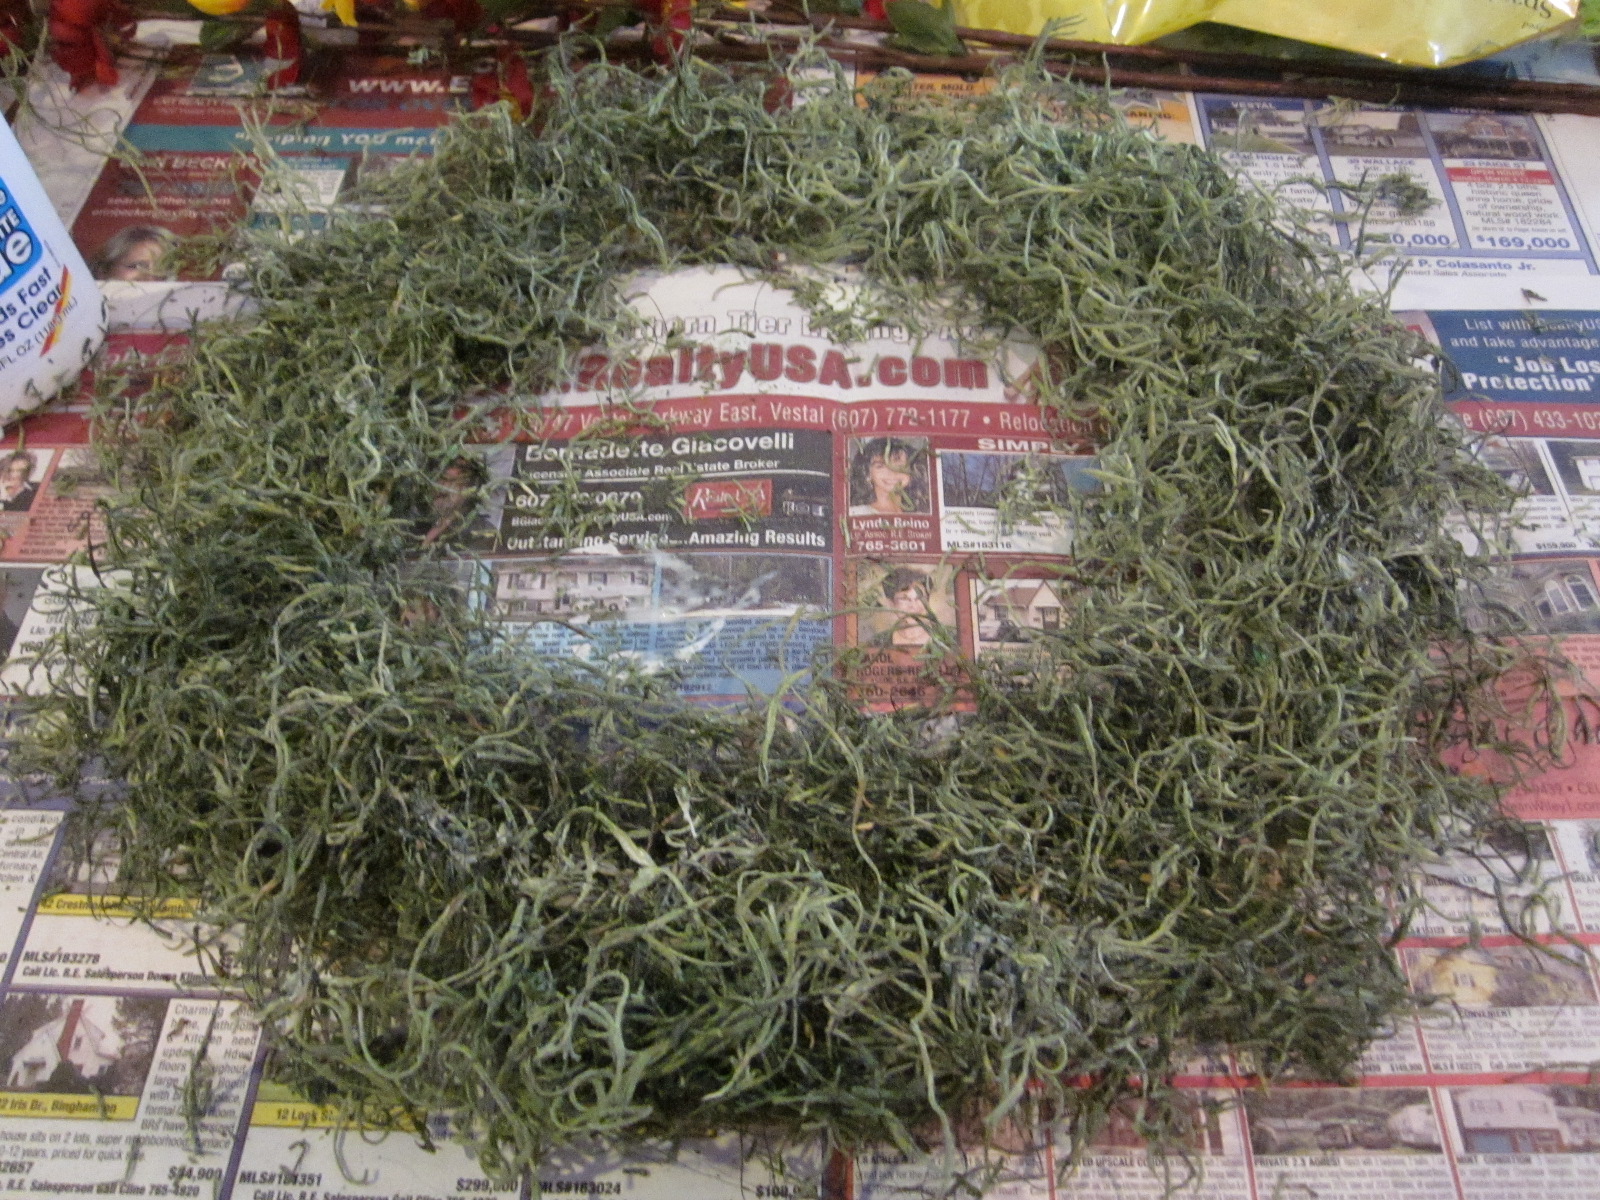
I started off by using Elmer's Glue to adhere the moss around the entire ring.  I love the curly texture of the Spanish moss. 


While the glue dried, I pulled the flower petals off the ends of the branches and arranged them around the ring.  Once I liked the overall look, I used my glue gun to secure each flower in place. 


Lastly I clipped the bird to the top of the wreath with its feathered tail hanging down.   I think the yellow and red flowers really pop against the rusty red of my front door.  As far as I am concerned there is nothing more welcoming than a hand-made wreath.


Friday, March 16, 2012

Painting Upholstered Furniture

Did you know you could spray paint upholstery?  It was a new idea for me.  I had dyed fabric before using RIT dye packets but that tactic obviously wouldn't work on furniture.  During one of my daily browses of the web I came across a spray painted wingback chair.  It actually looked really good so I decided to give it a try.  A while back I had purchased a barrell-shaped swivel chair at my local Salvation Army Thrift Store.  It was in good shape though a bit faded. 


I recalled reading that the paint could be found in craft stores.  So last Saturday I headed to JoAnn Fabrics.  I found a product called Simply Spray.  They carried it in 2.5 oz. spray cans.  I wasn't sure how much each can would cover but since they only had (3) packages of the Poppy Red that is what I got.  When I got home I carried the chair out into the back yard and began spraying.  After emptying the (3) cans I had only painted about half the chair.  Already knowing that JoAnn's didn't have more of the color I needed this time I headed to A.C. Moore.  There I picked up (3) more cans.  Sadly the paint was $1.00 more per can.   Once I got home I finished my chair and left it out to dry for a few hours.


I think the chair came out great.  The chair originally cost me $25 and for another $30 or so in paint I have a brand new chair.  If I had sent the chair out to be reupholstered, it would have cost me way more than that.  Below you can see the finished product in its final resting place in my living room.  The chair now matches my $5.00 vintage ottoman perfectly.  This was a really easy DIY project and one I would do again.

Thursday, March 8, 2012

Design Dilemma Solved With A Barn Door

Two years ago I purchased my current home.  It is an 1890 colonial.  The house appears to have been built in stages over the years.  The front third is 2 1/2 stories with high ceilings on both levels and a walk-up attic space.  The mid and rear sections are more of a 1 1/2 story.

The master bedroom is situated on the second floor of the mid section.  It is a very large room with sloped ceilings.  To enter from the hallway you need to step down.  When I purchased the house there was no door to this room making it more appropriate for use as a family room.  In order to convert the room for use as a bedroom adding a door was a must.


Herein is where the problems became apparent.  First of all being sunken a regular hinged door would have just hung in mid air along the wall.  With the door swinging into the room it either blocked the heat register on one wall or wouldn't swing all the way open because of the sloped ceiling.  A pocket door wouldn't have worked for the same reason.  Swinging the door out into the hallway would block the stairway or impede on the entrance to the other bedroom.  So what was a person to do.  I didn't want bi-fold doors which would have made it look like the entrance to a closet.  I needed something special.

I decided a sliding barn door was the only answer.  Looking into it further I found the standard barn door hardware to be relatively expensive.  For a lower priced option I came up with hanging a sliding closet door track on the outside of the bedroom wall.  I purchased a standard door slab at Lowes along with the closet door track and hardware.  In order to secure the track to the wall at the right height I secured a two by four painted the color of the wall first.  I then screwed the track into that and added the wheels to the top of the door.  It is functional and I think it added some industrial interest without compromising anything.  Wouldn't you agree?